

Throwing Your First Plant Pot: A Beginner's Guide to the Wheel
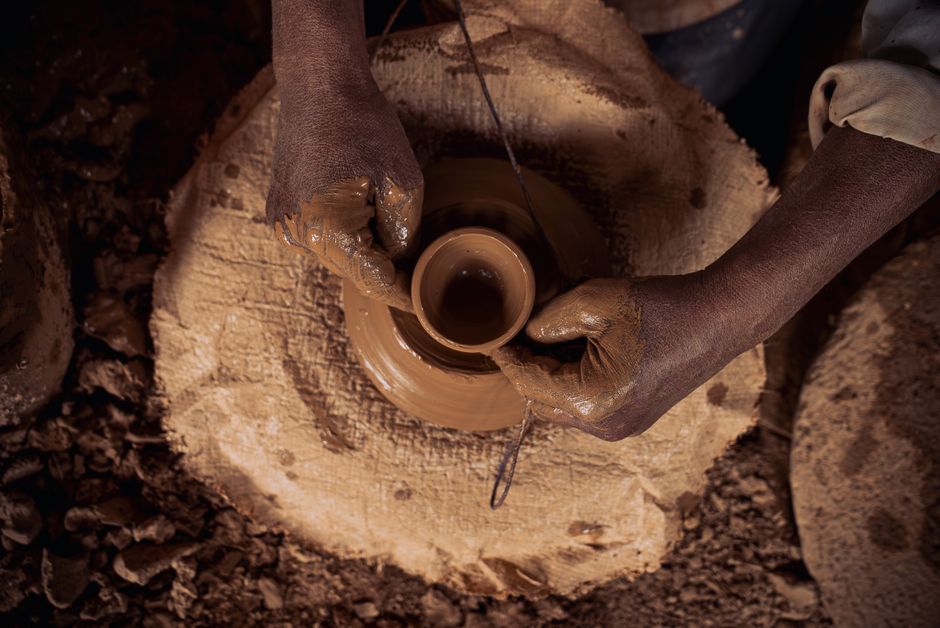
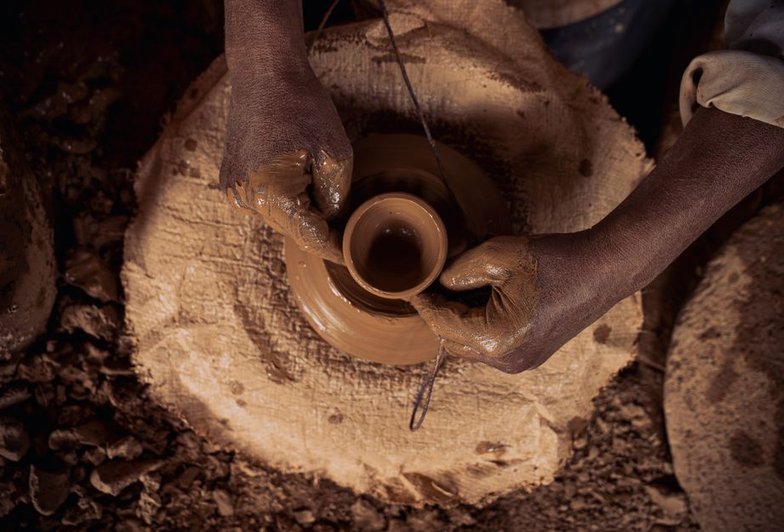
There is a moment, right before you touch clay to a spinning wheel, when everything feels possible. Then the wheel starts, the clay wobbles, and you realize your hands are covered in slip and nothing is going according to plan. That is completely normal, and it is also the beginning of one of the most satisfying crafts you can learn. Throwing pottery is not about force. It is about patience, pressure, and learning to work with the clay instead of against it.
Before you ever sit at the wheel, you need clay that is properly wedged. Wedging removes air pockets and evens out the moisture, which means fewer surprises when you start to center. A ball of clay roughly the size of a large orange, about two pounds, is a good starting point. Too much clay and your arms will tire before you finish; too little and you will struggle to pull walls. Keep a bucket of water nearby, but use it sparingly. Water makes clay slippery, and slippery clay is hard to control.
Centering Is Everything
Centering is the step every beginner wants to rush, and it is the step that determines whether the rest of the process works. Place your clay firmly in the middle of the wheel head, then press down with the heel of your hand while the wheel spins slowly. Bring the clay into a cone, then press it back down. Repeat this a few times. You are not just shaping the clay; you are aligning it with the rotation of the wheel. When the clay is centered, it stops fighting your hands. It feels calm, almost buttery, and your fingers can move without the whole mass lurching sideways.
Once centered, open the clay with your thumbs or fingers, pressing down into the middle while keeping the walls even. Then comes the pull. Pinch the wall between your thumb on the inside and your fingers on the outside, and draw the clay upward in slow, steady movements. Beginners often try to pull too much clay at once. Thin, gentle pulls work better. If the rim starts to flare or the wall thickens, stop, recenter your hands, and try again. Nobody produces a perfect cylinder on their first attempt, and that is not the point.
Finishing, Drying, and Letting Go
When your pot has a shape you like, tidy the rim with a sponge and smooth the surface. Then comes the hard part: leaving it alone. Greenware needs to dry slowly and evenly, ideally covered with plastic so it does not crack. Rushing the drying stage is one of the most common reasons beginner pots fail. Once it is bone dry, it is ready for the bisque firing, and later glazing.
Keep your first few pots, even the lopsided ones. They are a record of your hands learning something new. Over time, you will notice your walls getting thinner, your rims getting cleaner, and your centering getting faster. Throwing is a skill built through repetition, not talent. The wheel does not care how strong you are. It only cares whether you are willing to slow down and listen to the clay.



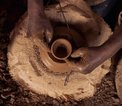

Learn what to expect when you sit down at the potter's wheel for the first time, from centering the clay to pulling your first wobbly but wonderful walls.
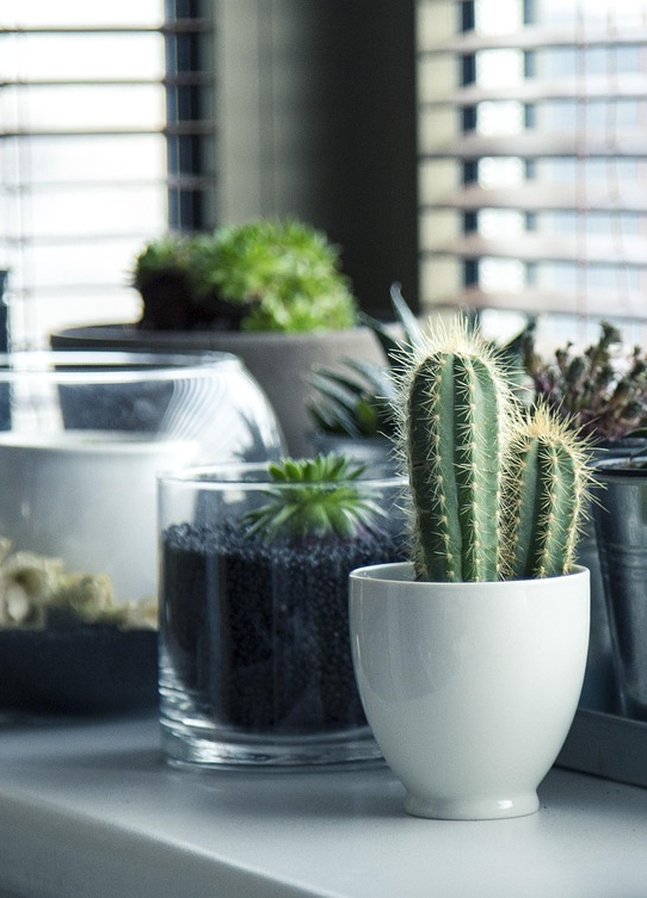
Terracotta and stoneware pots do more for your herb garden than look pretty on a windowsill, and here is why clay is worth the investment.
Wood ash and plant ash have been used in glazes for centuries, and your own garden can supply the raw material for surprising, beautiful surfaces.
You do not need a studio to make pottery outdoors; a thoughtful corner of the garden can become a workspace that inspires everything you make.
Terracotta is beautiful and breathable, but it cracks in freezing weather if you do not take a few simple precautions before winter arrives.