
Pinch Pots and Parsley: A Beginner's Pottery Project for Gardeners
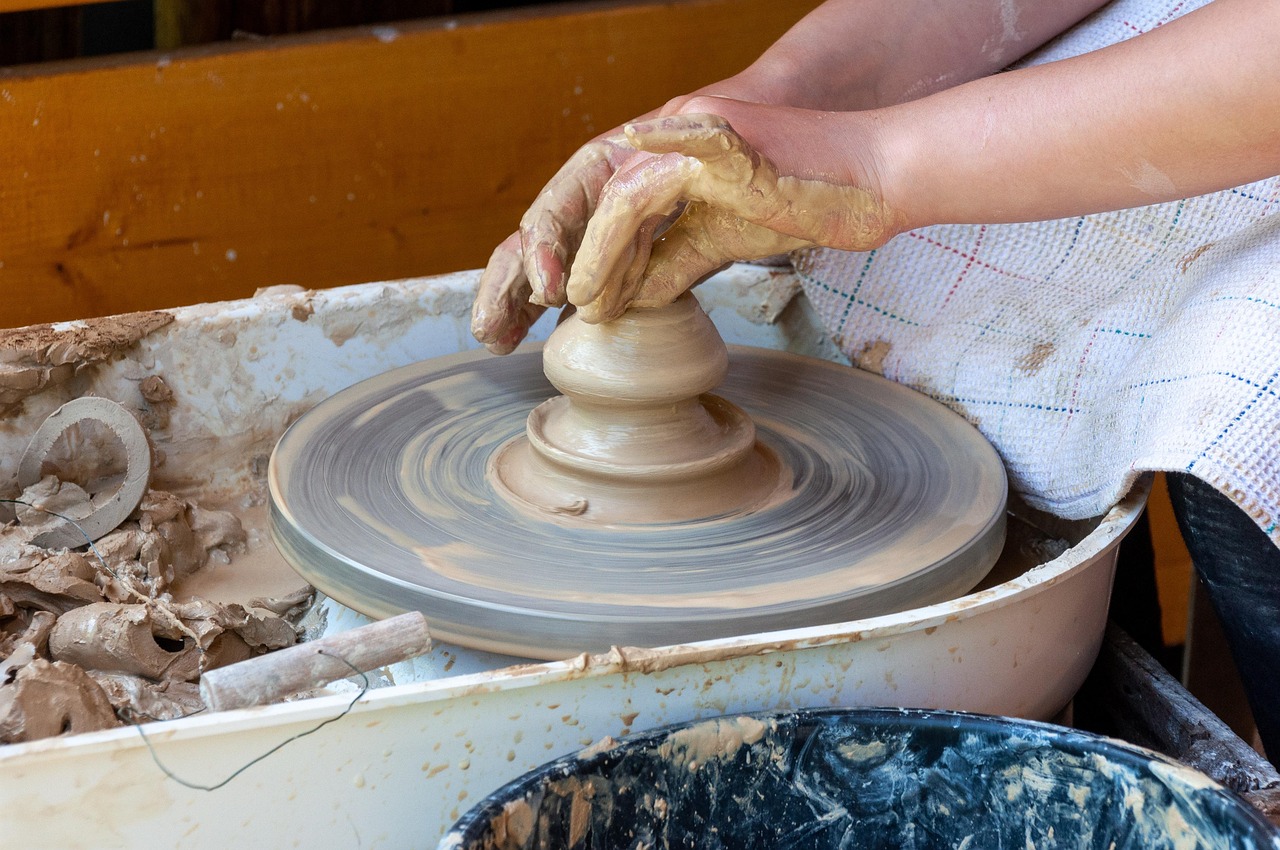
Not everyone wants to sit down at a pottery wheel and wrestle a spinning lump of clay into submission. Some of us just want to make something small, useful, and slightly wonky that we can put on a windowsill and fill with parsley. That is where the pinch pot comes in. It is the oldest pottery technique in the world, and it is still the most forgiving.
I taught a friend to make pinch pots last summer, and by the end of the afternoon she had produced four small herb planters and was already planning a fifth. She had never touched clay before. Her pots were uneven, a little lumpy, and completely charming. More importantly, they worked. The parsley is still going.
The Basic Pinch Pot, Step by Step
Start with a ball of clay about the size of a tangerine. Soft clay is easier to work with, but not so soft that it slumps. If you can press your thumb into it without the whole ball deforming, you are in the right zone. Roll it between your palms until it is roughly round, then press your thumb into the center, stopping about a centimeter from the bottom.
Now pinch. Work your way around the rim, pressing the clay between your thumb on the inside and your fingers on the outside, rotating the ball as you go. The goal is to thin the walls evenly while keeping the bottom thick enough to support the pot. This takes a few minutes. Do not rush it. If the rim starts to crack, you are pinching too aggressively or the clay is too dry. Dip your fingers in a little water and slow down.
Once the walls are about the thickness of a coin, you have a pot. You can leave the rim as it is, or you can gently tap it on the table to even it out. Some people like a smooth rim. I prefer a slightly irregular one, because it looks handmade and because I am not patient enough to fuss over it.
If you want a drainage hole, poke one now with a skewer or a chopstick, while the clay is still soft. This is important if the pot is going to hold a living plant. Without drainage, water pools at the bottom and roots rot. I have learned this the hard way more than once.
Turning a Pinch Pot into a Herb Planter
Once your pot is formed, let it dry slowly. If you dry it too fast, especially in direct sun or near a radiator, it will crack. A paper bag loosely draped over the top slows the drying and gives the clay time to shrink evenly. After a few days, the pot will be bone dry and ready to fire. If you do not have a kiln, look for a local community studio or a pottery supply shop that offers firing services. Many will fire small pieces for a modest fee.
You can leave the pot unglazed, which gives it a lovely matte, earthy look and lets it breathe, or you can glaze it for color and easier cleaning. For herbs, I usually leave the outside unglazed and only glaze the rim, if anything. Unglazed clay wicks moisture away from the soil, which helps prevent the roots from sitting wet.
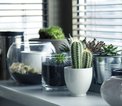
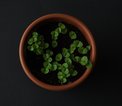
When the pot is fired and ready, fill it with a light potting mix, plant your herb, and water gently. Parsley, thyme, and mint all do well in small pots like this, though mint will eventually want more room. Put it on a sunny windowsill, and every time you snip a leaf for dinner, you will be reminded that you made the thing holding it. That is a small pleasure, but it is a real one.
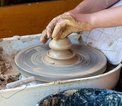
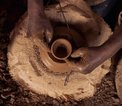
If you have never touched clay before, a pinch pot herb planter is the gentlest possible introduction to the craft.
Your garden already has a color story, and your pottery can either echo it or push against it in interesting ways.
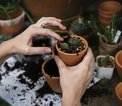
Moving a plant into a handmade pot is an act of trust, and a little preparation goes a long way.
You do not need a dedicated room to make pottery, just a corner of the garden, a bit of shelter, and a willingness to get muddy.
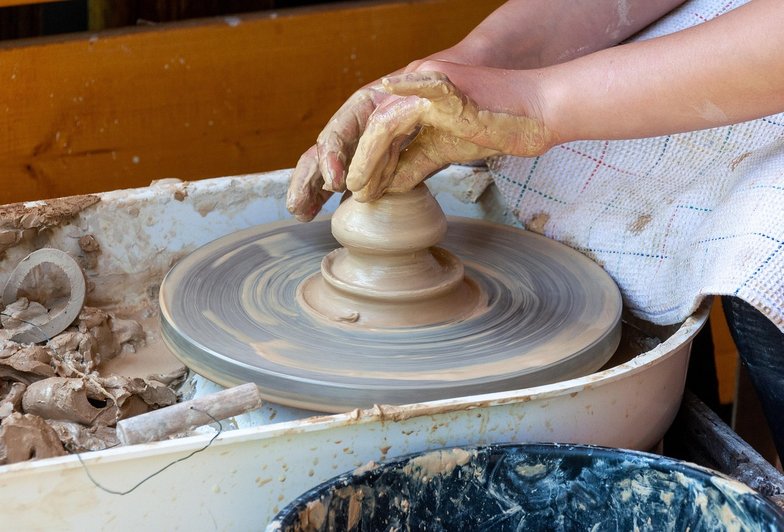
Learn what to expect when you sit down at the potter's wheel for the first time, from centering the clay to pulling your first wobbly but wonderful walls.